How to Create Easy DIY Glitter Sensory Bottles
Share
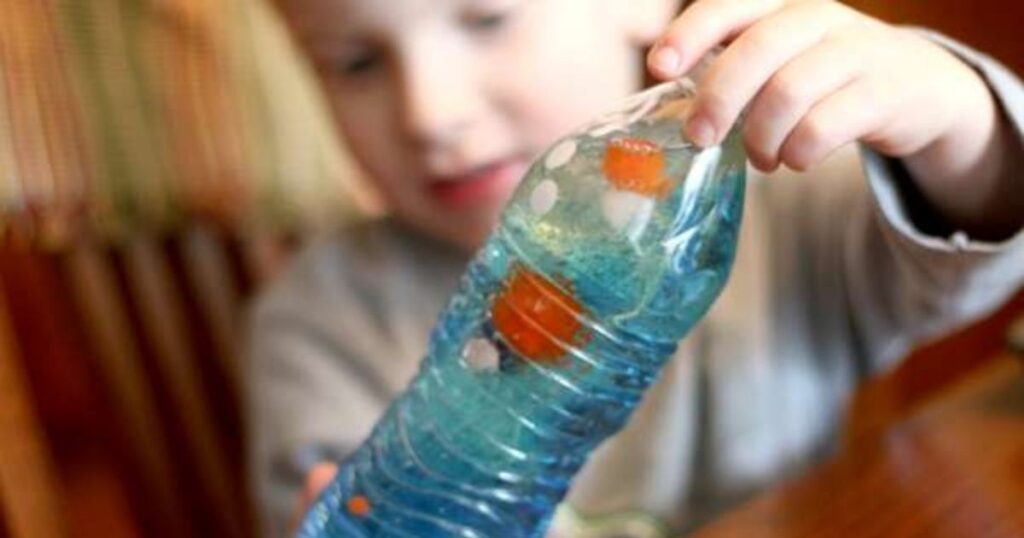
Sensory bottles have become a popular plaything and favorite toy for kids in recent years. These DIY glitter bottles give you a bundle of joy, stimulation, and sensory charge that captures your attention and imagination. The swirling glitter and floating toys inside the bottle are mesmerizing to watch them settle after giving the bottle a good shake.
Making DIY sensory bottles at home is a fun, easy, and affordable project for parents and kids to do together. All you need are basic craft supplies like empty plastic bottles, water, glitter, glue, and small objects of your choice to float inside.
Customize the bottle with your child’s favorite colors, themes, or characters. Not only is assembling glitter bottles enjoyable, but kids will love playing with them once finished.
Read on to learn how to make simple yet stimulating glitter sensory bottles step-by-step.
Choosing Bottles for DIY Sensory Bottles
Sensory bottles can be made out of any clear plastic bottle. Reusing plastic bottles designated for recycling gives them new life! Look for the following bottle features when making DIY glitter bottles:
- Clear plastic to see inside
- study and leakproof
- interesting shape, size, or color
- white mouth for easy pouring
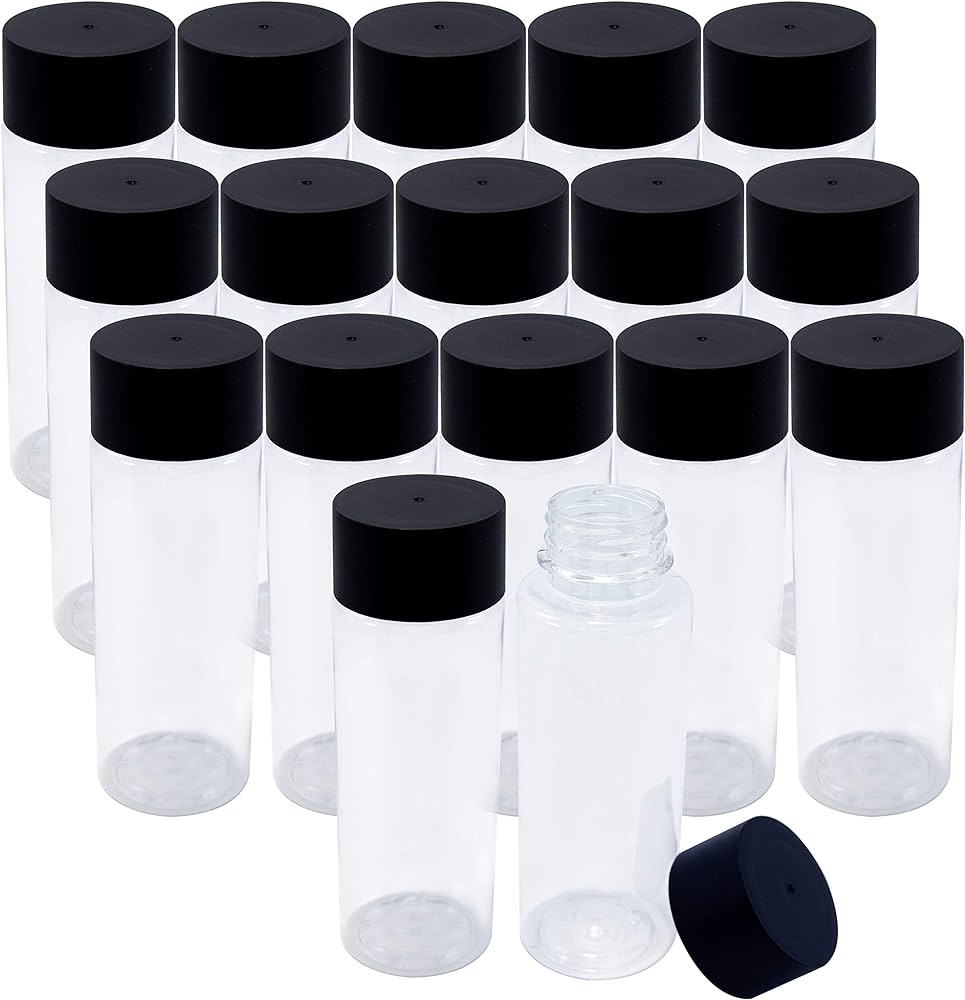
Plastic bottles, soda bottles, and Juice bottles all work great. Smooth cylindrical bottles are easiest to stand upright for display. Avoid fragile materials like glass bottles.
For a more polished look, use commercial water bottles like the sleek AQA or Himalayan Water bottles. The Nordic-style cylindrical bottles have inspired many DIYers to create homemade sensory versions.
Consider fun bottle shapes, colors, or sizes too. Unusual vessels like old shampoo bottles, rounded honey jars, or square food storage containers add more visual interest, but they’re mostly not transparent. You can also use bigger two-liter water bottles for giant glitter bottles that can serve as a fun display in your living room.
Ultimately, anything that seals tight and lets kids view the action inside can become a glitter sensory bottle!
Glitter Sensory Bottle Supplies
Making basic glitter sensory bottles only requires a few inexpensive craft materials.
- Empty plastic bottle
- Warm water
- Clear glue
- Glitter
- Food colouring(optional)
- Superglue or hot glue gun
For more complex glitter bottles, have these supplies in hand.
- Assorted small objects to float inside(beads, sequins, buttons, erasers, confetti, etc.)
- Funnel for filling bottles
- Corn syrup for slower movement
Choose supplies that suit your child’s interests and age. For young toddlers, glitter alone provides sufficient stimulation. Preschoolers will enjoy themes using beads, buttons, or creature toys.
School-aged kids may prefer more detailed scenes with an array of tiny objects inside. Gather everything needed before starting so the DIY process goes smoothly!
How To Make Easy DIY Glitter Bottles
Follow these steps to create simple yet satisfying glitter sensory bottles.
- Start by filling the empty plastic bottle about halfway with warm tap water. Water allows the ingredients to mix together more easily than cold water.
- Next, pour glue into the bottle until it reaches about ¾ full. White school glue tends to cloud up the bottle. Opt for clear liquid glue or clear gel craft glue instead. The glue helps suspend the glitter in the water.
- Here, kids can pick their favorite colors! A few drops of liquid food coloring tint the entire bottle. Gel food colors work too. Just squeeze in a small bit of color and let it disperse in water.
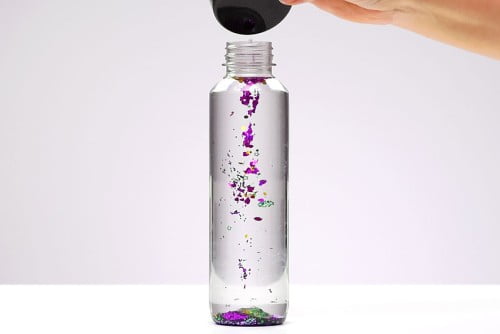
- Time for the glitter! Add spoonfuls of glitter into the bottle until satisfied with the amount. Fine glitter works best to flow and shimmer inside the water but chunky craft glitter can add more texture.
- Now’s the chance to add small objects that will float around with the glitter. Beads, sequins, buttons, pom poms, and plastic charms are fun choices. Make sure objects are small, lightweight, and waterproof. Metal items may corrode over time.
- Before sealing the bottle, top it off with more warm water until full. Leave a little room at the top for the mixture to move. Using a funnel prevents spills with pouring.
- Securely screw the bottle cap tightly. For rainforest protection, apply Clearcraft glue or hot glue around the rim of the Bottle and under the cap. This seals it permanently so kids can’t open the bottle.
And just like that, a custom glitter sensory bottle is ready for shaking! The bottles may take a day or two to settle and separate fully. Once ready, the glitter will slowly drizzle down in a mesmerizing effect when turned upside down. Kids can reuse their glitter bottles again for hands-on play that stimulates their senses and imagination!
Variations for Advanced Sensory Bottles
Once the basic formula is mastered, get creative with unique variations! An adept Classic glitter bottle design with fun concepts:
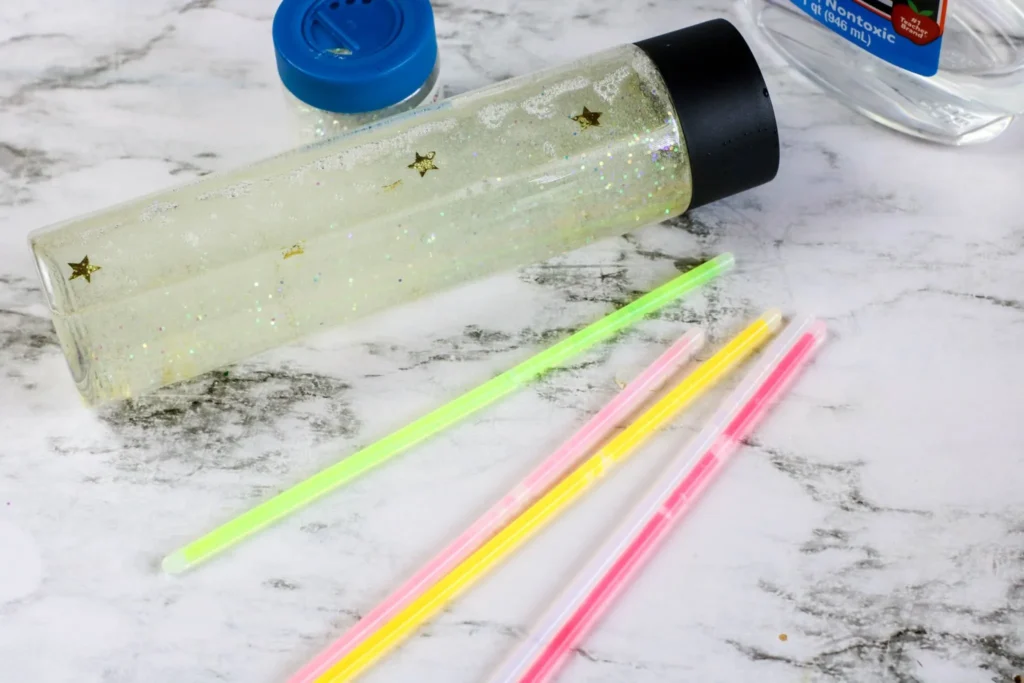
- Slow Motion sensory bottle: For extra long-lasting sensory play, Slow Down The glitter drifts inside the bottle. Add a spoonful of corn syrup along with the glow before adding water. The syrup increases the viscosity for super slow, dream glitter decent. Hair gel also works to slow the glitter motion.
- Fizzy Sensory bottles: Incorporate Bubbly Fun by using carbonated water or soda instead of plain water. The carbonation makes the glitter face dance when shaken. Use plastic bottles only, as carbonation can cause the glass to explode.
- Oil and water sensory bottles: layering oil and colored water creates cool liquid effects. Fill the bottle one-third with oil Like Baby Oil or Mineral oil. Top with colored water, leaving a gap. Glitter and small objects that sink and float between the oil/water levels.
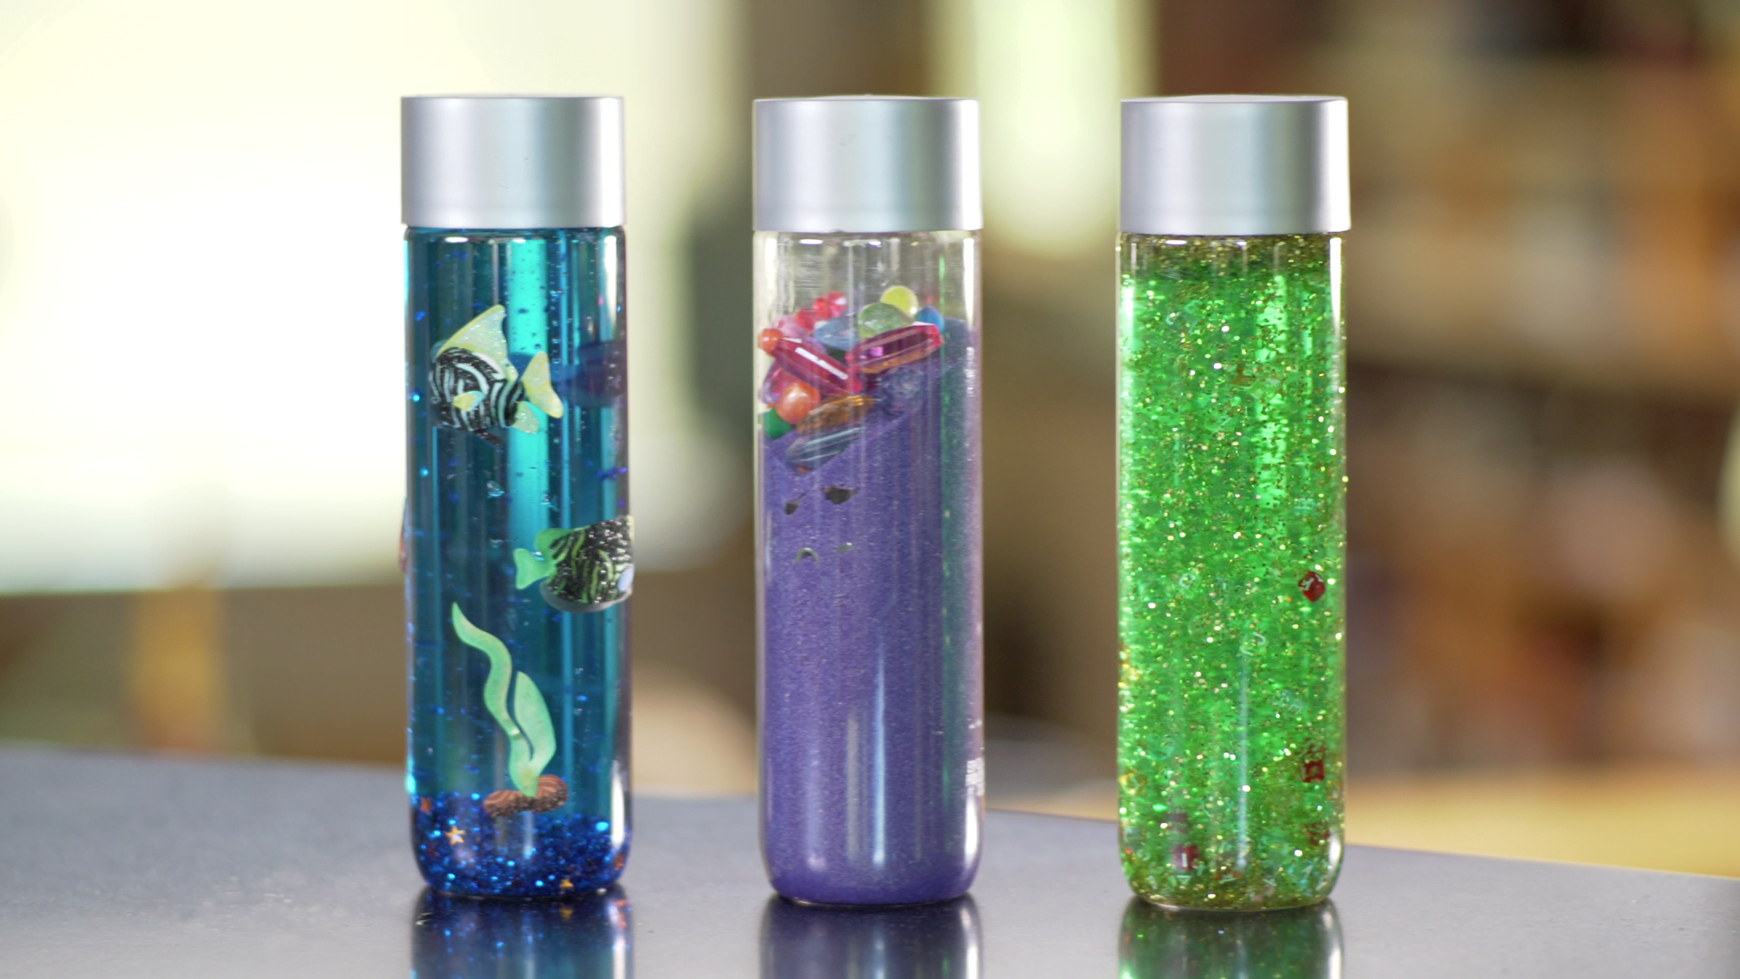
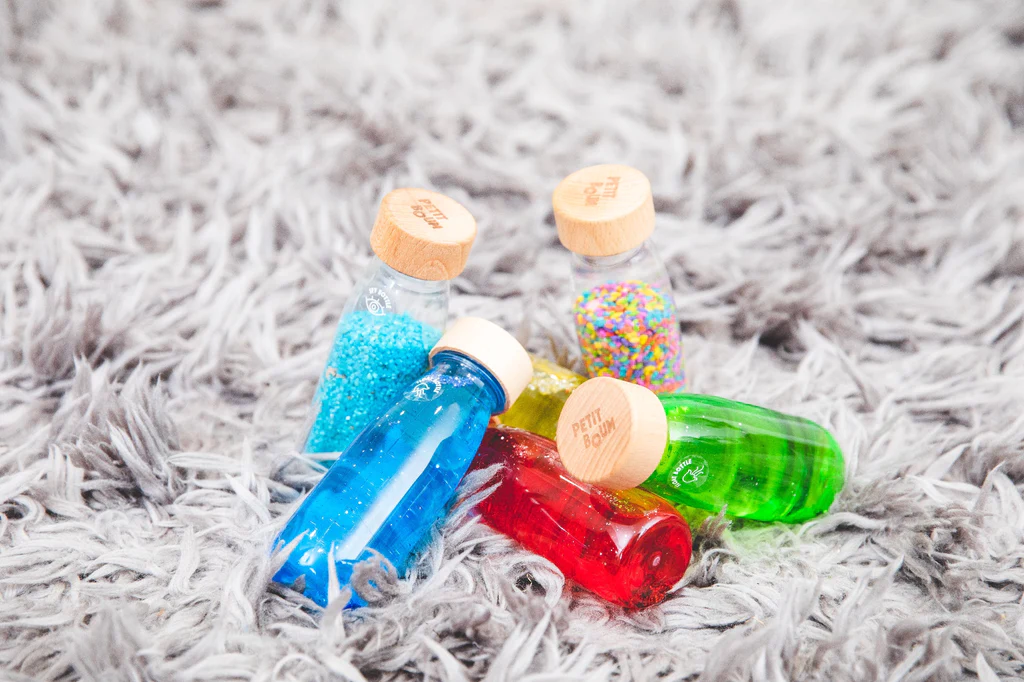
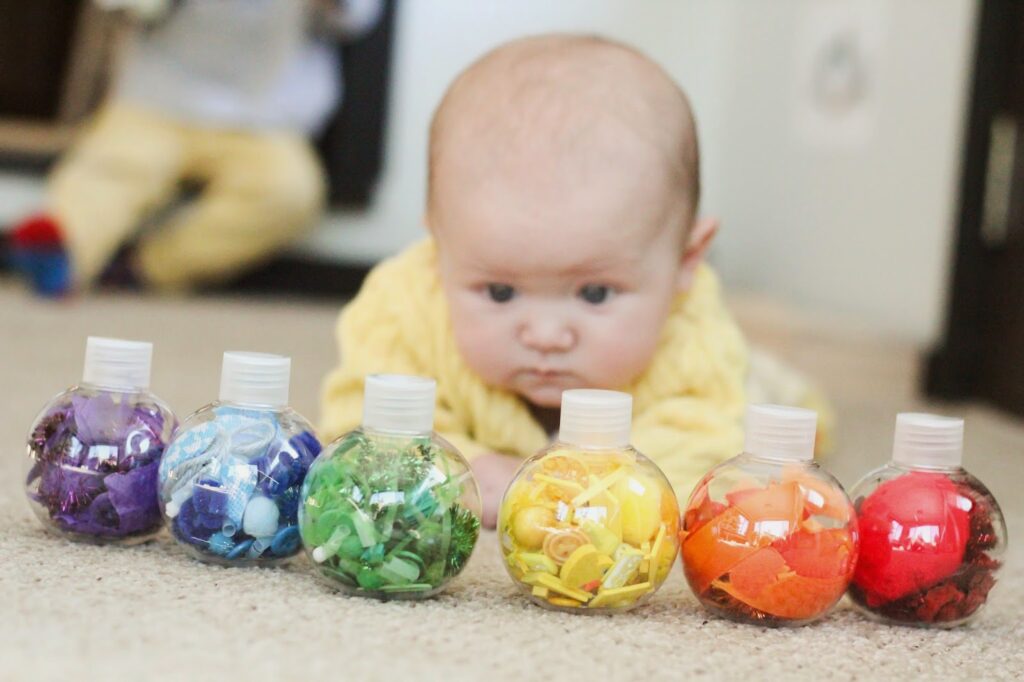
- Theme sensory bottles: choose a specific color scheme, glitter shapes, and themed object mixes to customize the overall look. Make winter snow Globes with white and silver glitter. Create an underwater ocean with fish confetti. Design outer space bottles with glow-in-the-dark stars. Options are endless!
- Giant Sensory Bottles: For dramatic oversized sensory bottles, Reuse two-litre plastic soda bottles. Fill them with glitter, beads, pom poms, and found objects from around the house. Spray paint or wrap the outside of the bottle for more visual pop. Giant bottles work great as floor toys.
Why Make DIY Sensory Bottles?
Sensory bottles are a popular Montessori-inspired toy that has the following benefits for kids.
- Visual stimulating
- Improve focus and concentration
- Promotes self-regulation
- Develop fine motor skills
- Inspires creativity and imagination
- fun, open-ended sensory play
The engaging sight of glitter swirling down and objects floating around is naturally soothing and mesmerizing for kids. Shaking up a sensory bottle can help redirect a child’s attention when they are upset. The bottle’s sensory also encourages interaction, curiosity, and sensory exploration.
Sensory bottles are amazing tools that appeal to toddlers, preschoolers, and big kids alike. Parents of kids with sensory processing disorder, ADHD, or autism have come to love glitter bottles due to the numerous benefits it has. Still, any child can play and enjoy the creativity and sensory experience of making and playing with DIY glitter bottles!
Simple DIY vs. Readymade Kits
While homemade sensory bottles using basic supplies provide plenty of sensory stimulation, some parents may prefer the convenience of premade kits, especially for making glitter jars and sensory bottles. Look for kits at Stores like Amazon or any local stores.
Making sensory bottles from scratch has advantages, like being less expensive, fully customizable, and a great hands-on craft for kids. On the other hand, premade sensory bottle kits offer convenience with their all-in-one packaging that includes instructions and tools. For those short on time or looking to buy kits as gifts or party favors, the premade options may work better.
Some parents find the best of both approaches is to make basic homemade bottles while getting themed kits to complement their collection. With the pros and cons of DIY bottles and kits in mind, families can decide the optimal sensory bottle strategy for their needs and budget.
Many kits come with stickers, rubber stamps, and reusable figurines to deck out the bottles. Consider combining homemade and kit bottles to get the best of both approaches!
Ideas for Theme Glitter Bottles
List the creativity by dreaming up fun nuclear bottle themes! Use colors, shapes, textures, and designs that appeal most to kids. Some ideas include the following.
- Ocean (blue and green with fish scales and shells)
- Unicorns (pastel with glitter hearts and stars)
- outer space (silver, glow in the dark)
- ocean (Blues with fish beads)
- winter Wonderland( white and Blues with snowflakes)
- jungle safari( green with mini animals)
- sweet and treats (pink and purple with sparkles)
- Princess Castle (pink and purple with tiaras and hearts)
- Lego bricks( classic Lego-coloured bricks)
- Spooky Halloween (black and orange with spiders)
- Shimmery Rainbow colors
Incorporate your child’s special interest into the theme too. Favorite TV shows, books, toys, and hobbies make for especially meaningful Creations. Let kids take the lead in deciding on colors and embellishments for their own custom glitter bottles!
Playing and Interacting with Glitter Bottles
The magic of the sensory bottle comes alive, and kids engage in activity sensory play and Exploration. Here are ways to encourage learning and development through interactive glitter bottle activities.
- shake it up and watch the swirl of glitter as it slowly resets
- turn the bottle upside on and observe the “rainfall.”
- roll the bottle back and forth horizontally to make “waves.”
- Rotate the bottle in your hand to disturb the objects inside
- Follow a single glitter Flake floating down with eyes
- Look closely to find hidden objects floating inside
- Hold the bottle up to the light to see sparkling colors
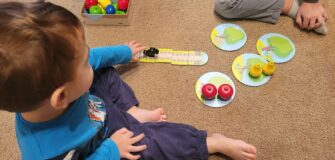
- Stack multiple bottles in color order
- Line up matching bottles in size order
- Describe observations using colors, shapes, texture, speed, etc.
- Invent stories about what’s going on inside the bottle
- Display bottles on the shelves to admire
- Use bottle alongside sensory bins for multi-sensory play
Sensory bottles encourage self-expression, scientific observation, and sensory exploration.
And imaginative play. Let kids take the lead in interacting with the bottles based on their own imagination and interest. Add props like a small flashlight or colored transparent films to place over the bottles for added effects.
Set up stations around your home where kids can independently access and play with their glitter bottles. Inside clear acrylic, glass drawers, small crates, vases, or even hanging shower candies work beautifully to display and store a collection of sensory bottles. The bottles become beautiful works of art as well as toys!
Benefits of Sensory Bottles for Kid’s Development
Beyond the instant gratification of playing with fun DIY glitter bottles, the sensory bottle experience provides many developmental perks. Here are some of the benefits and skills gained by kids by having the glitter bottles:
Sensory bottles promote a range of skills in young children through hands-on, interactive play. The act of twisting, turning, shaking, and manipulating the bottles enhances visual-motor coordination, fine motor skills, and problem-solving abilities.
As children observe the cause and effect of their actions on the glitter inside the bottles, they also build focus, concentration, and early science concepts. The sensory experience sparks imagination and self-expression as kids create stories about the “world” inside each unique bottle.
Describing these observations out loud promotes language development. Recognizing colors, shapes, and textures and comparing bottle sizes and weights contribute to color, shape, and pre-math recognition. Children learn to self-regulate emotions and manage energy levels through independent sensory play.
As kids grow and develop new skills, they can get more out of playing with sensory bottles. Glitter bottles are endlessly inciting. DIY sensory bottles offer a fun afternoon activity for kids and parents.
Skip the specialty stores and make high-quality glitter bottles inexpensively at home using supplies you likely already have! Follow the simple step-by-step tutorial for swirling sparkling kids will love.
Troubleshooting DIY Sensory Bottle Problems
While making glitter bottles is fairly straightforward, some trial and error may be needed to get the best results. Here are some common sensory bottle problems and potential solutions.
Some typical issues that may arise when making glitter sensory bottles include objects sinking, glitter sticking, mold growth, and dark liquid color. To prevent items from sinking, use clear glue or corn syrup to increase the thickness of the liquid inside the bottle.
To avoid mold, only use plastic objects and glitters. Lightweight plastic items will also prevent objects from floating at odd sideways angles.
Clumping glitter can be avoided by using fine, smooth craft glitter instead of chunky varieties. When adding food coloring, start with just a couple of drops and build up the color gradually to prevent it from getting too dark.
With these simple troubleshooting tips in mind, glitter sensory bottles can provide years of magical sensory play. With just a few basic craft supplies, families can make magical DIY glitter sensory bottles that provide endless sensory stimulation and imaginative play.
These bottles are easily customizable to a child’s unique interests and age. Toddler will be captivated watching the glitter swirl down in a simple, clear bottle, while older kids will enjoy cramming toys and trinket into a more complex-themed bottle.
Conclusion
Playing with glitter sensory bottles builds important skills like concentration, fine motor control, color and shape recognition, vocabulary, and sensory processing. The bottles also help kids self-regulate emotions and attention.
Both independent and shared play provide developmental opportunities. Making basic bottles is just the start—parents can challenge older kids with design experiments. Displaying completed bottles decorates homes while boosting kids’ pride.
With easy instructions, families can confidently make engaging DIY glitter bottles using affordable supplies. The process teaches cooperation. The final products become magical sensory toys that entertain for hours.
Securely sealed bottles keep contents safely inside during vigorous shaking! Glitter bottles make great gifts and pair well with sensory bins for multi-sensory play.
Making sensory bottles is a wonderful way for quality family time while nurturing young minds through creative play.


